👉 Let’s stay connected on social media!
How to Make Crispy Baby Bloomin’ Onions in Under 30 Minutes

QUICK REMINDER:
There’s a “jump to recipe” button for convenience, but if you head straight to the recipe card, you might miss useful ingredient notes, step-by-step tips, FAQs, and other helpful details that can make your dish turn out even better.
Bloomin’ onions to wow in just 30 minutes
There are nights when everyone seems a little frayed around the edges, when dinner is technically handled but morale is not. The pasta is boiling, the chicken is in the oven, the salad is… fine. You could call it done. But you can also feel that quiet tug for something fun, something salty and crunchy that makes people wander into the kitchen and say, Wait, what are you making?
That is exactly where these Baby Bloomin’ Onions live.
They are really just tiny, crisp-fried cipollini onions, but they land like a restaurant trick. You set down a plate of these curling-golden little things and suddenly the table feels warmer, less ordinary. Kids pull them apart like tiny edible flowers. Adults pretend they’re “just trying one” and then stand over the plate, breaking off petals until it is mysteriously empty.
They look fussy. They sound like work. They are neither, if you know where to let go and what actually matters. A sharp knife, hot oil, a simple seasoned coating, and the patience to fry in small batches, that is the whole story.
What makes these onions worth the trouble (and what doesn’t)
If you have ever ordered a full-size blooming onion at a restaurant and then tried to replicate it at home, you already know the problem: giant onion, impossible to handle, batter that slides off, oil that cools down at the worst moment. By the time you sit down, you are tired of both the onions and yourself.
Baby Bloomin’ Onions solve that.
Cipollini onions are small, flat, and sweet, so they cook through quickly and stay tender while the outside turns crisp. They are also easier to cut into that familiar flower shape because you are not wrestling with a softball-sized vegetable. If the word “cipollini” sounds exotic, remember they are usually just in a bin near the regular onions, slightly squashed-looking, with papery skins that feel like tissue.
Here is what matters more than anything else for this recipe:
- The oil needs to actually be hot, not “I think it’s hot.”
- The onions need to be dry before you dip them.
- The seasoned coating needs enough salt and spice to earn its keep.
Everything else is negotiable. Your cuts do not have to be perfect, a few petals may fall off, and someone will always eat the slightly over-browned one and proclaim it the best.
Gathering what you need without overthinking it
Think of this as a little pantry project, not a scavenger hunt. You probably have most of this already, and whatever you buy will actually get used again.
You will need:
- Cipollini onions
- Flour
- Cornstarch
- Baking powder
- Salt
- Black pepper
- Paprika
- Garlic powder
- Buttermilk
- Vegetable oil (for frying)

How to turn tiny onions into tiny “flowers”
This part looks more delicate than it feels. Once you have done one or two, your hands will remember.
- Peel the cipollini onions. The skins are a bit stubborn, so trim the root end just enough to grab, then slice off a very thin bit of the top. Use your fingers to slip off the papery layers. If an outer layer of onion comes away, let it, you want clean, solid bulbs.
- Keep the root end mostly intact, that is what holds the “petals” together while frying.
- Place an onion root-side down on the cutting board. With a small sharp knife, make vertical cuts from the top down toward the root, stopping about 1/4 inch before you reach the bottom. Think of it like cutting a pie into wedges. Start with quarters, then cut each quarter in half so you end up with 8 sections. If the onion is a bit bigger, you can go finer.
- Gently use your fingers to separate the layers a bit, so the petals start to open. Do not force them, just a little coaxing so the coating can slip between layers.
- Set the cut onions on a clean kitchen towel, cut-side down, so they can dry a bit. This small rest helps them lose surface moisture, which means the coating sticks better and the oil spits less.
If your first ones look uneven, remember they will be wearing a golden coat later. No one will be checking your knife skills over the sound of the crunch.
The no-drama frying plan
Here is where most people tense up. Hot oil has a reputation. It helps to think of it as just another tool that wants your attention for a short, specific time. Move slowly, keep kids and pets elsewhere, and line up what you need before you turn on the heat.
Directions:
- Preheat oil in a deep fryer or large pot to 350°F (175°C).
- In a bowl, mix together flour, cornstarch, baking powder, salt, black pepper, paprika, and garlic powder.
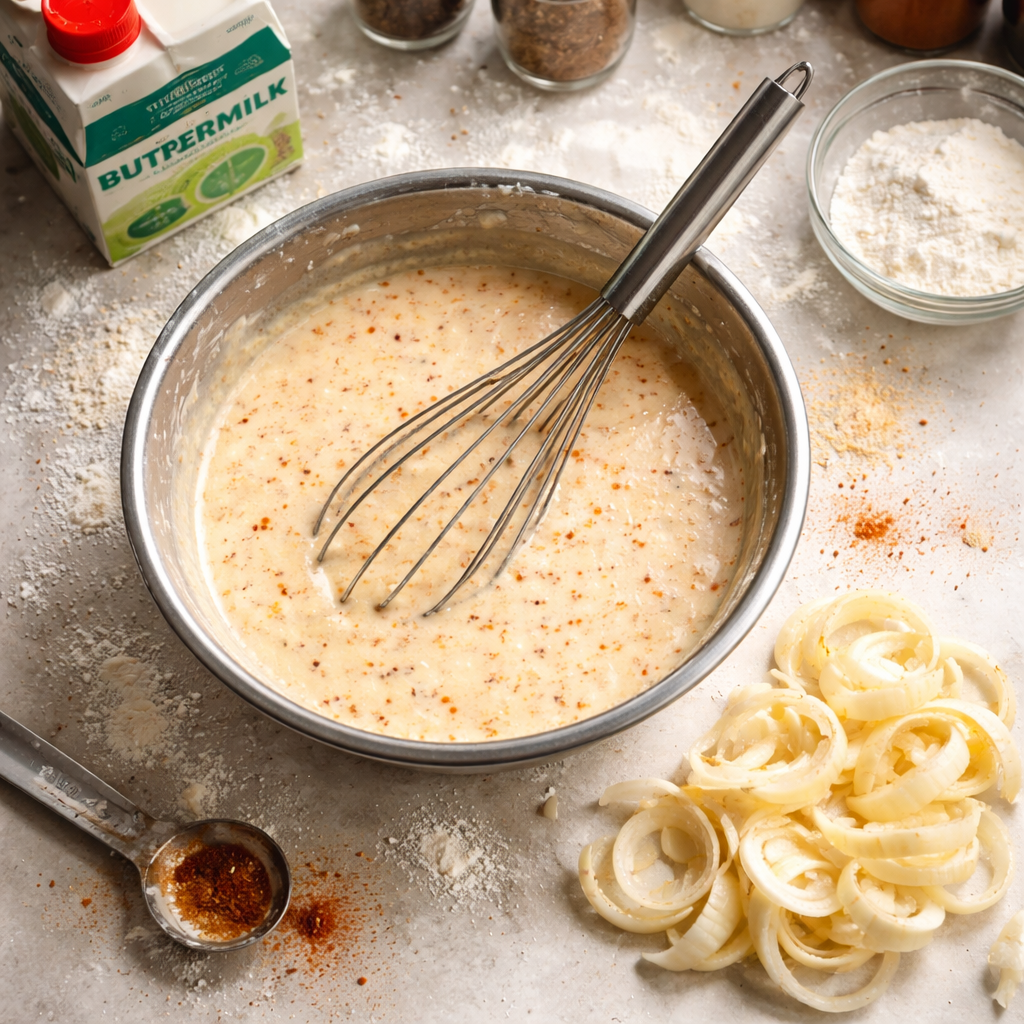
- Dip the cipollini onions in the buttermilk, then dredge them in the flour mixture until well coated.
- Carefully place the coated onions in the hot oil and fry until golden brown and crispy, about 4-5 minutes.
- Remove from oil and drain on paper towels.
- Serve hot and enjoy!
A few small things make this smoother:
- Do not crowd the pot. Too many onions at once drops the temperature and they absorb oil instead of crisping.
- Let the oil return to 350°F between batches, even if it tests your patience.
- If a petal escapes and floats off, consider it a cook’s snack and move on.
Little details that keep you on track
These onions are forgiving, but there are a few places people often worry they have messed up when they have not.
Color: The onions should go from pale to a deep, even golden. If they are still quite blonde after 5 minutes, your oil may not be hot enough. If they darken very quickly but feel hard and raw in the center, the oil was too hot. Adjust the heat and trust that the second batch will be better.
Seasoning: The coating should taste a bit bold in the bowl. Some of that intensity softens during frying, so if the mixture tastes only lightly seasoned, add another pinch of salt and a little more paprika before you start dipping.
Texture: They should feel fragile in the best way, a crisp shell that gives way easily when you bite. If they are greasy or heavy, the oil temperature dipped. Let it fully reheat between batches next time, and remember that smaller batches almost always taste better.
If you want to hold them for a bit while you finish the rest of dinner, slide the fried onions onto a wire rack set over a baking sheet and keep them in a low oven, around 250°F. They will stay crisp for 20 to 30 minutes that way, which is often all the grace period you need to round everyone up to the table.
Questions that usually come up right before you start
Can I use regular onions instead of cipollini?
You can, but they behave differently. If you only have standard yellow onions, choose the smallest ones in the bag, cut them into quarters without slicing all the way through the root, and follow the same coating and frying method. They will take a minute or two longer to cook through, and they will look more like chunky petals than tight little flowers, but they will still taste wonderful.
Is there a substitute for buttermilk?
How far in advance can I prep the onions?
The blooming onions are at their best right after frying, when the contrast between crisp exterior and soft center is sharpest. If there happen to be leftovers, reheat them on a baking sheet in a hot oven, around 400°F, for 8 to 10 minutes. They will never be exactly like the first round, but they will come back to life enough to happily snack on.
How to serve them so they feel like more than a side note
These Baby Bloomin’ Onions can slide into your evening in a few different ways, depending on what you need that day.
Set them in the center of the table before dinner with a quick sauce, maybe a bowl of thick yogurt stirred with lemon, garlic, and salt, and they become the thing that pulls everyone away from their phones. Add them to a burger night and suddenly that simple meal feels like something you might have waited for at a fair. Tuck a few alongside roasted chicken or grilled vegetables and they act like the crunchy, indulgent friend to all that straightforward food.
There is no wrong time to fry a handful of them just for the cook, either. A small pot, three or four onions, a quiet kitchen at the end of a long day, that counts. Some recipes earn their keep by stretching leftovers or solving a schedule problem. This one earns its place by giving you a small, golden pocket of fun right when the week feels a little too serious.
You will start making them “for the kids” or “for guests,” but do not be surprised if one night you find yourself peeling cipollini just because you feel like hearing that first crackle in the oil, knowing what is coming next.
Print
Baby Bloomin’ Onions
- Total Time: 45 minutes
- Yield: 4 servings 1x
- Diet: Vegetarian
Description
These crispy Baby Bloomin’ Onions are a fun, salty snack that brings warmth and cheer to any meal. Easy to make in just 30 minutes!
Ingredients
Scale
- 1 pound cipollini onions
- 1 cup all-purpose flour
- 1/2 cup cornstarch
- 1 teaspoon baking powder
- 1 teaspoon salt
- 1 teaspoon black pepper
- 1 teaspoon paprika
- 1 teaspoon garlic powder
- 1 cup buttermilk
- Vegetable oil (for frying)
Instructions
- Preheat oil in a deep fryer or large pot to 350°F (175°C).
- Mix together flour, cornstarch, baking powder, salt, black pepper, paprika, and garlic powder in a bowl.
- Dip the cipollini onions in the buttermilk, then dredge them in the flour mixture until well coated.
- Carefully place the coated onions in the hot oil and fry until golden brown and crispy, about 4-5 minutes.
- Remove from oil and drain on paper towels.
- Serve hot and enjoy!
Notes
For best results, do not crowd the pot while frying. Let the oil return to temperature between batches.
- Prep Time: 15 minutes
- Cook Time: 30 minutes
- Category: Snack
- Method: Frying
- Cuisine: American
Nutrition
- Serving Size: 1 serving
- Calories: 350
- Sugar: 3g
- Sodium: 600mg
- Fat: 18g
- Saturated Fat: 2g
- Unsaturated Fat: 16g
- Trans Fat: 0g
- Carbohydrates: 42g
- Fiber: 2g
- Protein: 6g
- Cholesterol: 5mg